Gravy: 5 Simple Steps to Create Comfort Food Bliss
So You’re Craving Something Tasty But Too Lazy to Spend Forever in the Kitchen, Huh? Same.
Ladies and gentlemen, gather ’round because we are about to embark on a culinary adventure into the comforting, soul-warming world of gravy. Yes, you heard me right, gravy! The unsung hero of potatoes, biscuits, and basically any meat that grants permission to slather on a thick sauce. This recipe will have you measuring out butter and flour while barely lifting a finger—with a delightful result that might make your grandma jealous. So, grab your apron (or just your favorite t-shirt), and let’s dive into this creamy goodness!
Why This Recipe is Awesome
Alright, let’s lay it out straight. This recipe is not just awesome; it’s downright revolutionary. It’s idiot-proof, even I didn’t mess it up. Seriously, if you can find a saucepan and wield a whisk, you are all set. In a mere five steps, you can morph from kitchen novice to gravy master. Plus, have you ever tasted store-bought gravy? I mean, it’s like hugging a cardboard box. Making your own is a game changer. You can control everything, from the saltiness to the richness of the flavor. And trust me, homemade gravy is a thing of beauty that puts all those impostors to shame.
Ingredients You’ll Need
Before we get sauce-slinging, let’s gather our troops. Here’s what you need for this glorious gravy magic:
- 2 tablespoons of butter: Because honestly, butter makes everything better.
- 2 tablespoons of all-purpose flour: The glue of the gravy world.
- 2 cups of chicken or beef broth: This is where the deliciousness really begins—don’t skimp here.
- Salt to taste: If you like your food with a little sass, add some salt.
- Pepper to taste: A little bit of pepper goes a long way, so don’t go crazy unless you want a spice adventure.
Got your ingredients? Great! Let’s sauce it up.
Step-by-Step Instructions
-
Melt butter in a saucepan over medium heat. No rocket science here. Just toss that butter in and keep an eye on it. You want it melted, not a bubbling cauldron of regret.
-
Add flour, whisking continuously until it forms a paste. This is where the magic begins. Keep whisking like you’re trying to defend against an attack of lumps. It should be smooth and slightly bubbly.
-
Slowly add broth while whisking to prevent lumps. Seriously, go slow here. Imagine you’re pouring your broth into a tiny swimming pool, not dumping a gallon of water into the ocean. Nobody wants chunky gravy, okay?
-
Cook until the gravy thickens. You’ll want to keep whisking and feel like you’re doing some kind of kitchen workout. It should take about 5–10 minutes. Be patient; it’ll thicken like a charm.
-
Season with salt and pepper. Taste it first; then add salt and pepper according to your vibe. If it needs a kick, give it a bit more pepper. You’re the flavor boss here.
Common Mistakes to Avoid
Alright, sweet friends, here’s where we go all “don’t be that person.” Here are some rookie mistakes to avoid:
-
Ignoring the whisking: Lumps are not your friends. If you take your eyes off the sauce while it’s thickening, congrats, you just made gravy pudding.
-
Using cold broth: Ever tried to mix ice water into a hot mixture? Exactly. Cold broth is a big no-no. Always warm it up first; your gravy will thank you.
-
Not seasoning enough: Gravy without salt and pepper is like a pizza without toppings. Just don’t do it—you have the power to make it delicious.
-
Rushing the thickening process: This is not a sprint; it’s a lovely little marathon. Take your time and allow the magic to happen.
Alternatives & Substitutions
Got some ingredients sitting in your fridge that are giving you the side-eye? No problem! Here are some easy alternatives and substitutions:
-
Butter: Out of butter? You can swap it for olive oil, but be prepared for a slightly different flavor. Use it if you’re feeling fancy.
-
Flour: Gluten-free? Use cornstarch or arrowroot powder. Just mix it with a bit of cold broth before adding it to avoid clumps.
-
Broth: Maybe you’re a vegetarian or just feel like mixing it up? Vegetable broth works like a charm.
-
Salt: If you’re cutting back on sodium, try garlic powder or even nutritional yeast for some flavor flair without the salt overload.
Pro tip: If you switch things up, taste as you go to keep your gravy game strong.
FAQ (Frequently Asked Questions)
Can I use margarine instead of butter?
Well, technically yes, but why hurt your soul like that? Butter is the real deal. Margarine is so last season.
How do I know when my gravy is thick enough?
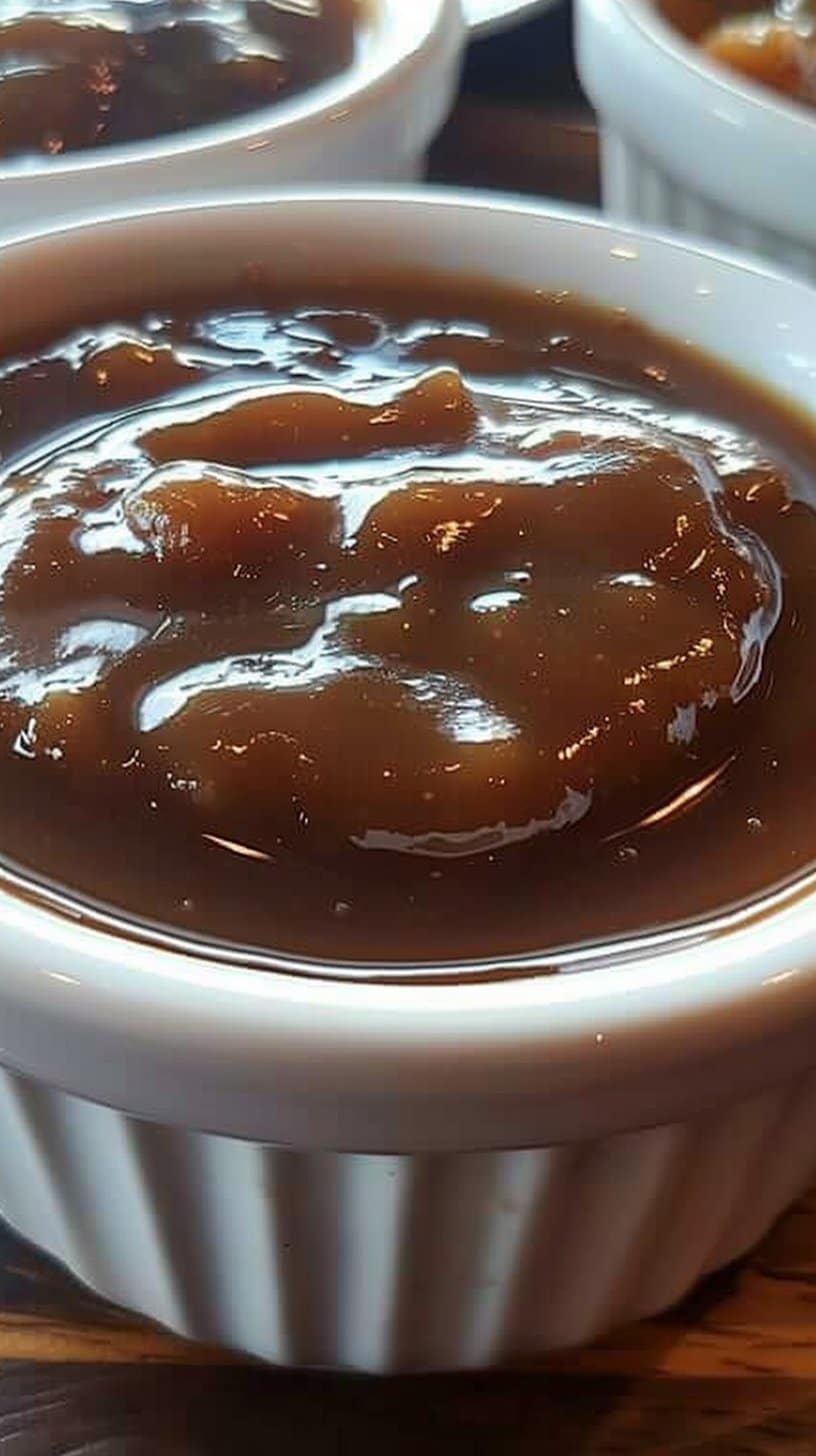
When you can achieve that perfect “coat the back of the spoon” moment, you have reached gravy nirvana. It should be smooth but not gloppy.
Can I freeze leftover gravy?
Absolutely! Just make sure to cool it completely, then store it in an airtight container. But let’s be real, do you ever have leftover gravy?
Can I make this gravy ahead of time?
Of course! Just save it in the fridge. Reheat gently on the stove, adding a splash of broth to loosen it up.
What should I serve this gravy with?
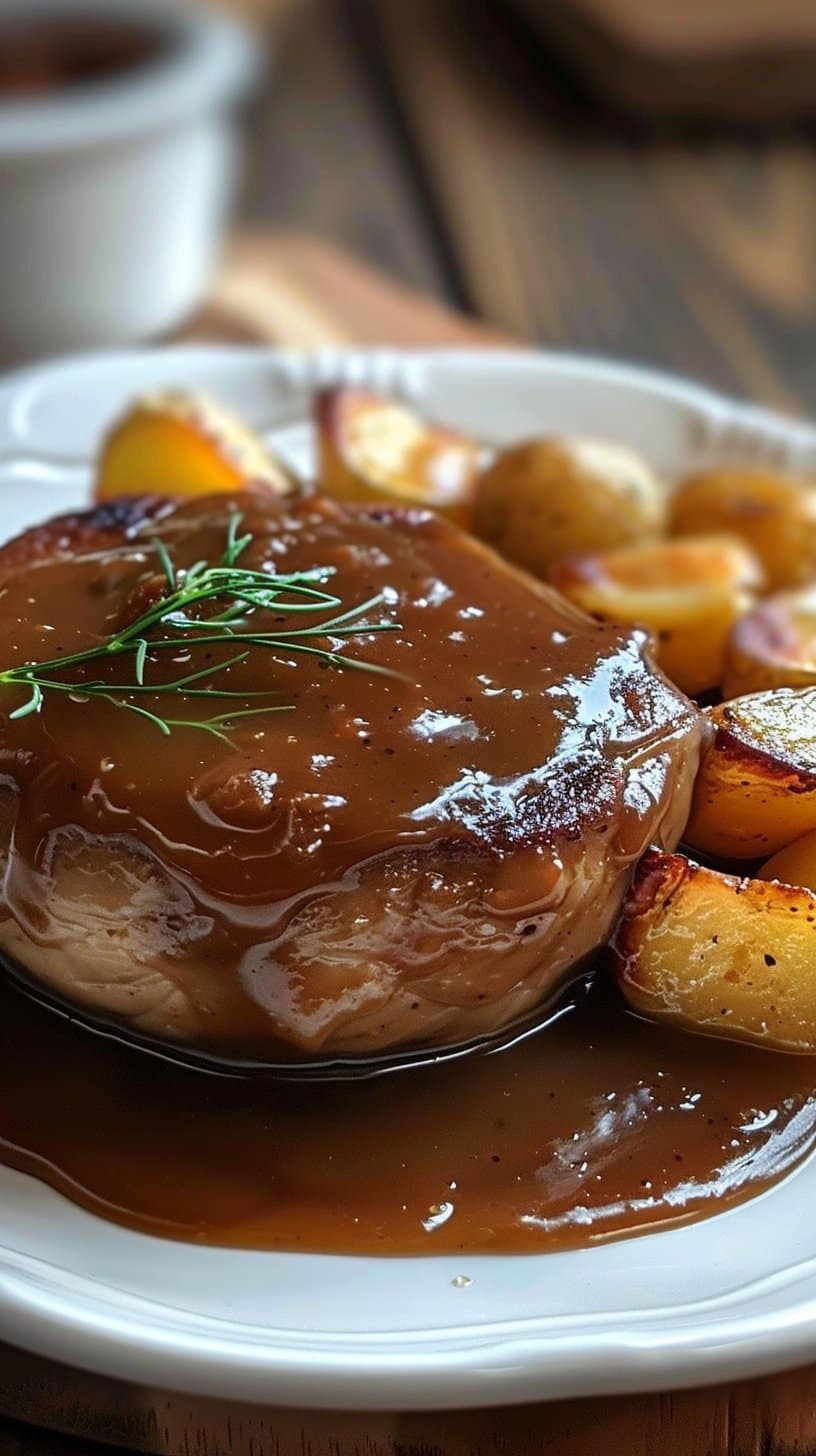
Oh my friend, the possibilities are endless. Pour it over mashed potatoes, drizzle it on biscuits, or slather it over roast chicken like you mean it.
How can I make my gravy richer?
To please your taste buds, try adding a splash of cream or a teaspoon of Worcestershire sauce. It’ll take your gravy from good to OMG levels.
Is this recipe easy enough for kids to make?
For sure, with a bit of supervision. Let them whisk away and feel proud of their gravy-making prowess. Just make sure they know lumps are a no-go.
Final Thoughts
And there you have it, friends. You’ve officially mastered the art of gravy-making, and your taste buds will forever thank you for it. Now go impress someone—or your own self—with your new culinary skills. Whip this up for dinner, brunch, or anytime you feel like indulging in a little comfort food bliss. You’ve earned this moment of culinary glory, so soak it in! Happy cooking, and may your gravy forever be lump-free.
Print
Homemade Gravy
- Total Time: 15 minutes
- Yield: 4 servings
- Diet: Gluten-free option available
Description
A simple and delicious homemade gravy recipe that elevates any meal with its creamy texture and rich flavor.
Ingredients
- 2 tablespoons of butter
- 2 tablespoons of all-purpose flour
- 2 cups of chicken or beef broth
- Salt to taste
- Pepper to taste
Instructions
- Melt butter in a saucepan over medium heat.
- Add flour, whisking continuously until it forms a paste.
- Slowly add broth while whisking to prevent lumps.
- Cook until the gravy thickens, about 5–10 minutes.
- Season with salt and pepper to taste.
Notes
Avoid using cold broth and be mindful not to rush the thickening process. You can substitute butter with olive oil and use vegetable broth for a vegetarian version.
- Prep Time: 5 minutes
- Cook Time: 10 minutes
- Category: Sauces
- Method: Stovetop
- Cuisine: American